Losing an earring post can be a frustrating experience, especially if it’s a favorite or expensive pair. But don’t despair, as fixing an earring post is a relatively simple task that can be done at home with a few basic tools. In this comprehensive guide, we’ll provide you with step-by-step instructions and troubleshoot common issues to help you repair your earring post and get your beloved jewelry back in action.

Image: www.youtube.com
Understanding Earring Posts and Their Purpose
Earring posts are the metal studs or rods that are inserted through the pierced hole in your earlobe. They provide a secure and comfortable way to wear earrings, and they come in various lengths and thicknesses to accommodate different earlobe sizes and preferences. When an earring post becomes damaged or breaks, it can result in the earring falling off or causing discomfort.
Materials and Tools You’ll Need
- Replacement earring post (available at jewelry stores or online retailers)
- Needle-nose pliers
- Round-nose pliers
- Wire cutters (optional)
Step-by-Step Guide to Fixing an Earring Post
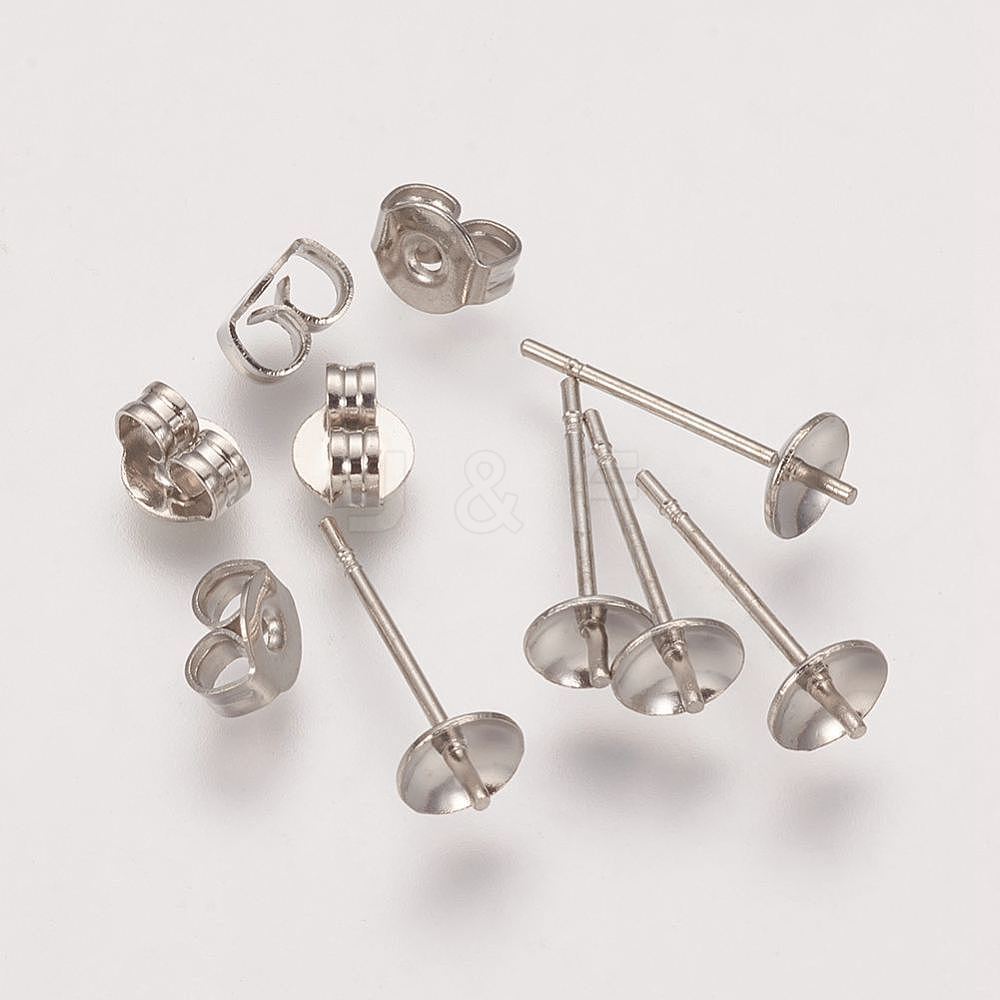
Image: www.jewelryandfindings.com
1. Safety Precautions
- Clean your hands thoroughly and the earring post with rubbing alcohol to prevent infection.
- Place a soft towel or cloth underneath your work surface to protect it from scratches.
2. Remove the Old Post (if necessary)
- If the old earring post is still attached to the earring, use the needle-nose pliers to gently twist and pull it out.
- If the post is broken and stuck in your earlobe, you may need to seek professional assistance from a doctor or piercer.
3. Trim the New Post (optional)
- If the replacement earring post is too long, you can trim it to a suitable length using wire cutters. Cut the post about 1-2mm shorter than the size of your earlobe.
4. Insert the New Post
- Align the new earring post with the hole in the earring.
- Hold the earring and post together, and insert the post into the hole.
- Gently push the post through until the earring is flush against your earlobe.
5. Bend the End of the Post
- Use the round-nose pliers to bend the end of the earring post back slightly (about a 90-degree angle). This will prevent the earring from falling off.
6. Double-Check the Fit
- Ensure that the earring fits comfortably on your earlobe and doesn’t wiggle or slide around.
- If necessary, adjust the post by bending it slightly to achieve the proper fit.
Troubleshooting Common Issues
-
The earring post keeps falling off. This could indicate that the post is too short or not bent back far enough. Try replacing the post with a longer one or bending it back more firmly.
-
The earring post is painful to wear. If the post is too long or bent at an incorrect angle, it can cause discomfort. Trim the post shorter or adjust the bend to alleviate the pain.
-
The earring post is rusted or tarnished. If the earring post is made of a metal prone to rust or tarnish, it can be cleaned using a soft brush and a baking soda and water solution. Rinse thoroughly with clean water afterward.
How To Fix An Earring Post
Conclusion
Fixing an earring post is a simple yet essential skill that can prolong the life of your favorite earrings. By following the steps outlined in this guide, you can easily repair broken earring posts and restore your jewelry to its former glory. Remember to use proper safety precautions and consult a professional if you encounter any difficulties. Happy fixing!
